Installing and uninstalling bots
A bot is a type of add-in that provides team messaging users with a conversational interface for completing various tasks. A bot is installed once per account or organization, and once installed, any user is free to add or remove the bot from a conversation. This guide will walk you through the process of installing a bot.
Needed permissions
To install and/or remove a bot one must be granted the "Install bot" and "Remove bot" permissions within their organization. This is typically done by your account administrator by editing a role and adding the corresponding permissions under "Desktop and Mobile App Features."

Install a bot from the App Gallery
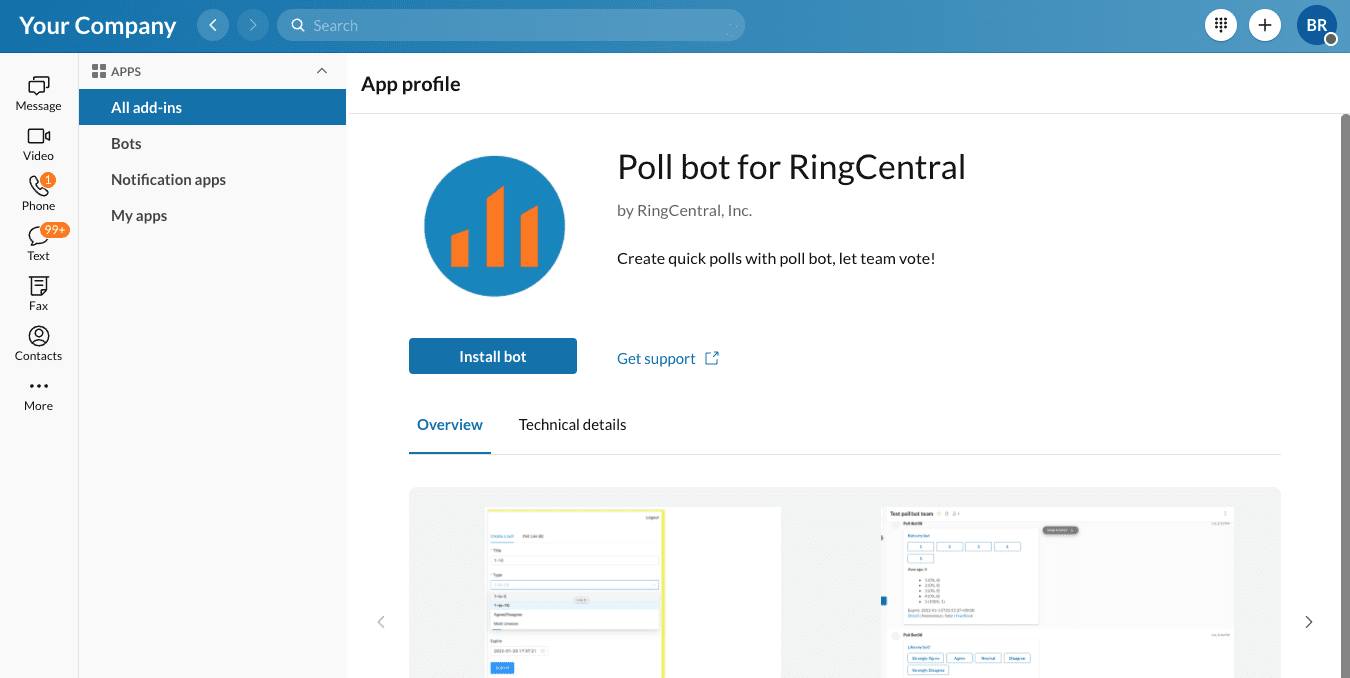
The most common way to install a bot from the App Gallery is to navigate to the bot's profile, and click the "Install Bot" button.

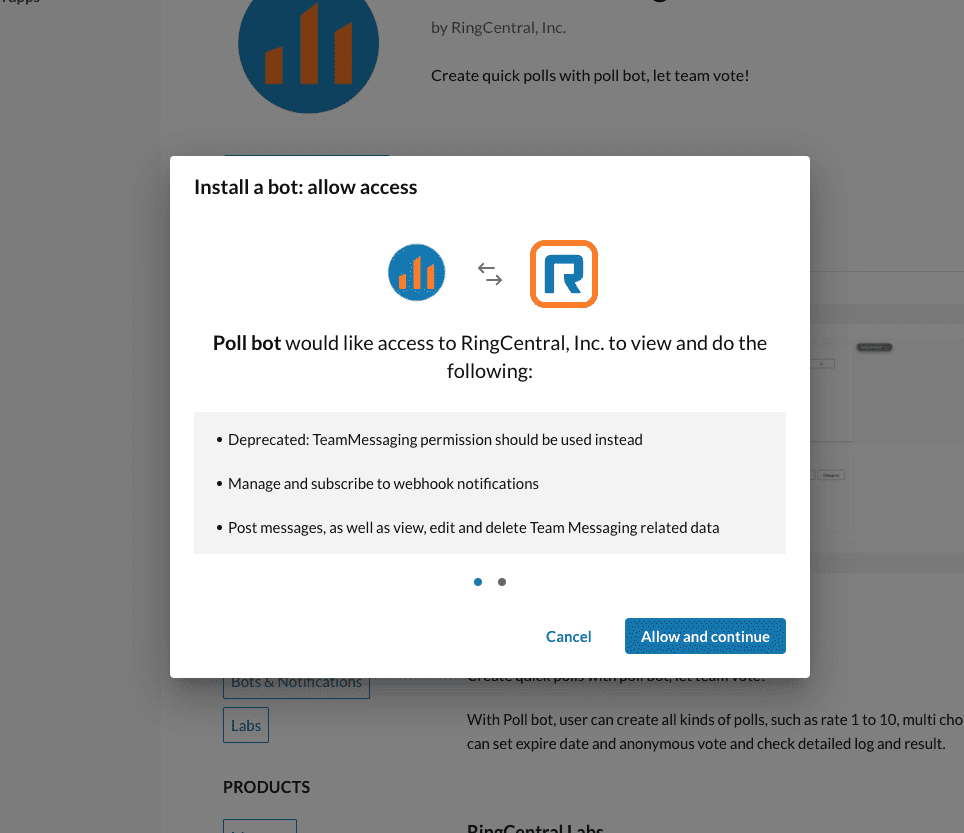
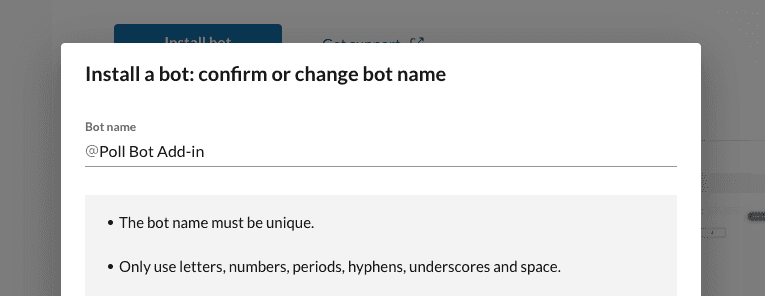
Doing so will initiate the bot installation process in which you will be prompted to authorize the bot to access your account, after which you will asked if you wish to customize the name of the bot.

You may wish to change the name of the bot. If so, edit it in the next step. The name you choose will be how your bot is addressed via an "@" message.
A bot is removed in much the same way. Once a bot is installed, and assuming you have permission to remove it (see "Needed permissions" above), then the "Install bot" button will be replaced with a "Remove bot" button.

Once the bot is installed, any user within your organization will be able add the bot to a conversation and converse with it.
Install a bot from within the Developer Console
Private bots can only be installed via the Developer Console
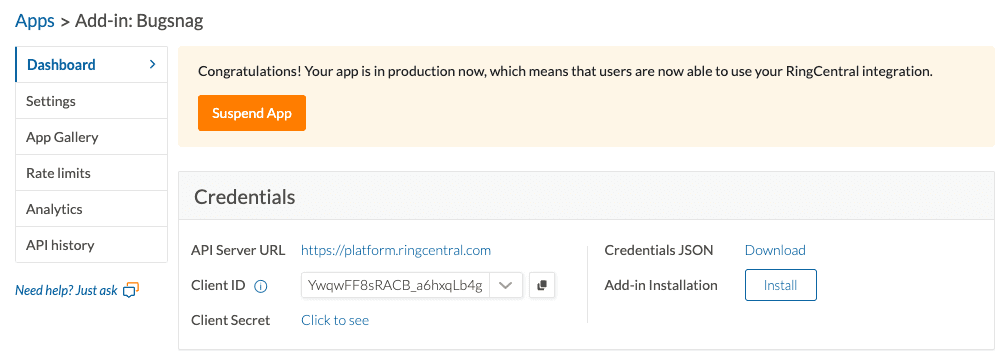
During development, or if you have built a private bot (one that is only accessible to members of your account), you can install bots via the RingCentral Developer Console. To do, find the bot you wish to install. From the app's dashboard, click the "Install" button found under the "Credentials" section.

To remove the bot, click the "Remove bot" button after it has been installed.